How to Build a Dead Hedge for Wildlife: A Step-by-Step Guide
How to Build a Dead Hedge for Wildlife: A Step-by-Step Guide
A dead hedge is the most useful thing you can build with a pile of prunings. It is a low wall of cut branches, twigs, leaves, and other woody debris, held in place between pairs of upright stakes. Unlike a compost heap or a tidy woodpile, a dead hedge is deliberately rough, dense, and full of gaps. That mess is the point: it creates shelter, nesting sites, and food for insects, birds, amphibians, hedgehogs, and small mammals. Best of all, it turns garden waste into a beautiful, functional habitat feature instead of sending it to the tip or burning it.
If you have ever finished pruning a hedge, shrub, or tree and wondered what to do with the branches, a dead hedge is the answer. It can be any length, from a one-metre patch behind a shed to a boundary wall that runs the length of a garden. It costs almost nothing, requires no special skills, and improves with age. This guide explains what a dead hedge is, why it matters, and exactly how to build one step by step.
What Is a Dead Hedge?
A dead hedge is essentially a linear habitat pile. Two rows of sturdy vertical stakes are driven into the ground, and prunings are packed between them. The resulting structure is similar to a hedge in shape, but it is made entirely of dead plant material. Over time, the bottom layers rot down, creating a damp, sheltered microclimate. The top layers stay loose and twiggy, offering perches, cover, and nesting material.
Traditional dead hedges, sometimes called dead hedges or faggot fences, were used in countryside management to create temporary barriers from cut brushwood. Modern wildlife gardeners have rediscovered them because they are quick to build, cheap, and exceptionally good for biodiversity. They are not a replacement for a living hedge, but they can sit alongside one, fill a shady corner, or divide a garden without the need for concrete, timber panels, or plastic netting.
Why Build a Dead Hedge?
The wildlife benefits are immediate and long-lasting. A dead hedge provides:
- Shelter: Dense twigs and leaves block wind and rain, giving insects, amphibians, and small mammals a safe place to rest.
- Nesting sites: Robins, wrens, dunnocks, and sparrows may nest in the tangled branches. Solitary bees and wasps may use hollow stems.
- Food and foraging: Rotting wood supports fungi, beetles, woodlice, and other invertebrates, which in turn feed birds, hedgehogs, and shrews.
- Overwintering habitat: Ladybirds, lacewings, and butterflies can shelter in the gaps during cold weather.
- Habitat connectivity: A dead hedge can link a pond, log pile, compost heap, and flower border into a wildlife corridor.
- Waste reduction: It uses prunings on site, saving fuel, money, and the carbon emissions associated with green waste collections.
There are practical benefits too. A dead hedge can screen a compost bin, define a path, slow rainwater runoff, and suppress weeds along a boundary. It is also much quicker to build than a traditional fence and far more wildlife-friendly.
Materials and Tools You Will Need
Materials
- Prunings: A mix of thin twigs, thicker branches, and leafy material. Avoid diseased wood, invasive species that root easily, and anything treated with herbicides.
- Stakes: Straight, rot-resistant posts such as sweet chestnut, oak, hazel, or reclaimed hardwood. You need two rows, spaced about 30–45 cm apart.
- Twine or wire: Optional, for tying the top of the stakes together if the hedge is tall or exposed.
- Leaf mould or soil: Optional, for filling gaps at the base if you want to encourage rotting and planting.
Tools
- Gloves and eye protection
- Secateurs, loppers, or pruning saw
- Mallet or lump hammer
- Spade or crowbar for making stake holes
- Wheelbarrow or tarpaulin for moving prunings
Choosing the Right Location
Put your dead hedge where it will be useful and visible, not hidden away. A sunny edge will attract more insects, while a shady corner can become a damp refuge for amphibians. Along a boundary, behind a shed, beside a pond, or between a lawn and a wildflower strip all work well. Avoid placing it directly against a wooden fence or shed, because the damp and insects could accelerate rot. Leave a small gap for air circulation.
Check for underground services before hammering stakes into the ground. Also consider maintenance access: you will need to add prunings every year or two, so leave room to reach both sides. If the hedge is in a front garden, keep it low enough to see over, usually around 60–90 cm, so it does not feel like a barrier.
Step-by-Step: How to Build a Dead Hedge
- Mark the line. Use a string line or a garden hose to mark the length and curve of your dead hedge. A gentle curve looks natural and creates sheltered pockets.
- Drive in the first row of stakes. Space them 60–90 cm apart. Hammer them about 30–40 cm into the ground, leaving 60–120 cm above soil level. The taller the stakes, the taller the hedge can be.
- Add the second row. Place the second row parallel to the first, about 30–45 cm away. This gap is the “throat” where you will pack the prunings.
- Start filling the base. Begin with thicker branches and logs at the bottom. Lay them lengthwise between the two rows. These create structure and slow decomposition.
- Add thinner material. Alternate direction as you build: some branches lengthwise, some crosswise. This interlocking technique makes the hedge stable without nails or wire.
- Pack it tightly. Tread down the material as you go. You want a dense core, not a loose pile that will collapse. Leave the top slightly looser for nesting birds.
- Finish with leafy twigs. The final layer can include leafy prunings, which will settle and knit together. Avoid adding grass clippings or soft green waste in thick layers, as these become slimy.
- Tie the top if needed. In windy sites, run twine or wire between opposing stakes near the top to stop them splaying outward.
- Water and wait. If the material is very dry, give it a soak. Then let nature take over. The hedge will settle, rot, and become richer habitat over time.
Building Tips for a Denser Hedge
If your prunings are mostly thin and whippy, mix in some thicker stems to stop the hedge compacting too much. If you have a lot of evergreen material, use it sparingly; a thick layer of conifer clippings can be slow to rot and may suppress everything else. For a very tidy look, trim the sides lightly with shears after building, but leave the top rough. Wildlife needs the untidy bits.
“A dead hedge is not a rubbish heap. It is a living structure made from dead wood, and the more layers and textures you give it, the more species it will support.”
How to Maintain a Dead Hedge
Maintenance is minimal. Each year, add new prunings to the top to replace material that has rotted down. If the hedge slumps, push the sides back into shape and add more stakes. If it becomes too tall, simply lower the top layer and use the cut material elsewhere. Never burn or shred the contents; that defeats the purpose.
In autumn, you can tuck fallen leaves into the sides. In spring, check for nesting birds before doing any major work. If you see a nest, stop and wait until the young have fledged. A dead hedge is a long-term project, and its value increases as the wood ages.
Wildlife You Can Expect to Attract
Every dead hedge is different, but common visitors include:
- Insects: beetles, solitary bees, hoverflies, ladybirds, and overwintering butterflies.
- Amphibians: frogs, toads, and newts, especially if the hedge is near a pond.
- Reptiles: slow worms and grass snakes may use sunny edges for basking.
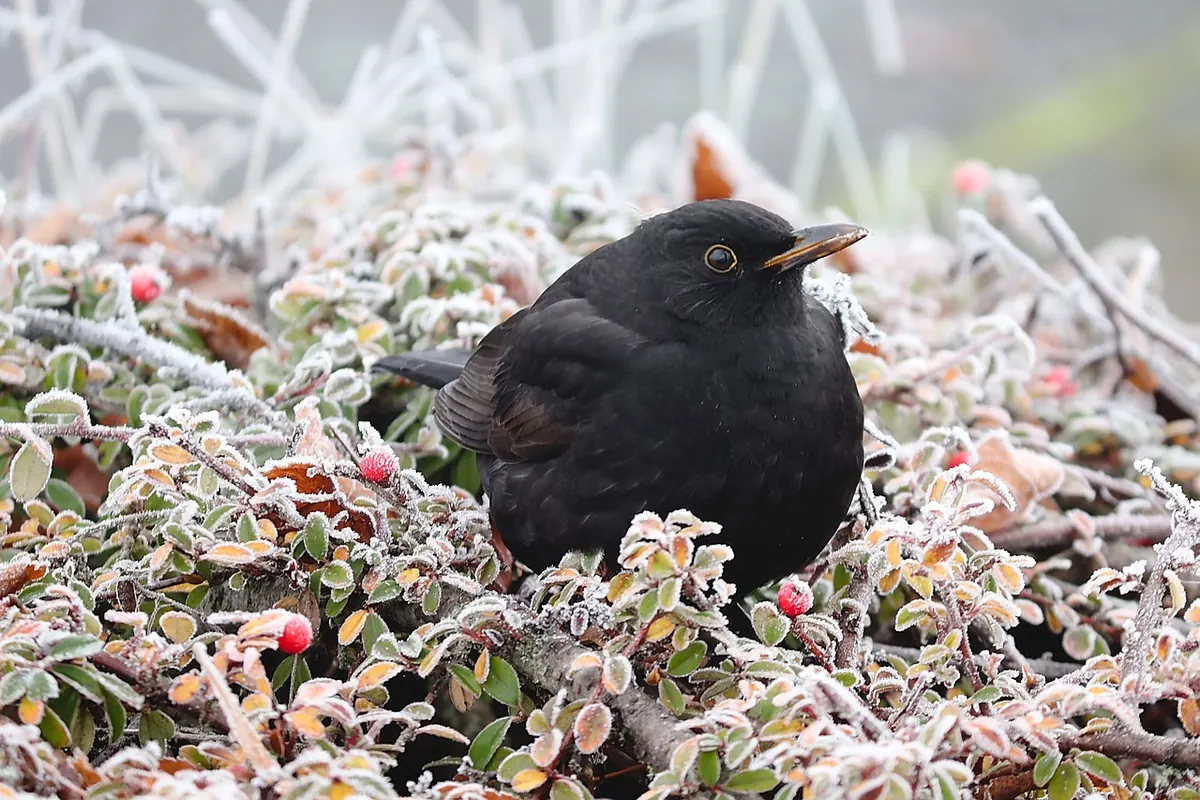
- Birds: wrens, robins, dunnocks, blackbirds, and sparrows may nest or forage.
- Mammals: hedgehogs, shrews, wood mice, and voles may use it as cover.
You may also see fungi growing on the rotting wood. That is a sign the hedge is working. Leave them alone; they are part of the decomposition process.
Extra Useful Section: Dead Hedge vs. Dead Wood Pile
A dead hedge and a dead wood pile are cousins, not twins. A dead wood pile is a concentrated stack of larger logs, often left in a shady corner to rot. It is excellent for fungi, beetles, and amphibians, but it takes up more space and offers less vertical structure. A dead hedge is linear, taller, and more open. It provides more nesting opportunities for birds and insects, and it can act as a boundary or screen.